Motorhome Electrics
These are the tips!
The subject of motorhome electrics is tricky and many do-it-yourself builders are reluctant to tackle it.
The questions here are varied and often not easy to answer.
In order to clarify some basic questions immediately, I summarize the most important basics here.
So I’ll explain to you what you should pay attention to before you start your power installation, which voltages are important for your motorhome and how you can lay a cable correctly.
I would also like to briefly explain to you how to properly secure everything and what task the famous FI switch takes on.
If you read here in more detail, you will have a basic understanding of how to properly familiarize yourself with the topic.
Motorhome Electrics: Tip 1 – Always work without electricity
There is always electricity in your motorhome, even if you haven’t even started with the conversion yet. The starter battery, which is used to start the vehicle, is already installed and the mass is already on the body.
Before you begin, the first thing you should do is to disarm this power source.
First disconnect the negative pole, i.e. the mass that is attached to the body. Then you can disconnect the positive pole. It is also very important: when the battery is not connected, cover both poles with appropriate pole caps. Working near the battery can be life-threatening.
If you have already installed your utility batteries, do not connect them until you have finished the electrical installation.
If you do need electricity to try something, be sure that there is no short circuit, as you may not be finished with other things.
So only connect what you want to test in the reverse order in which you disconnected the battery.
My tip: Install a ‘battery disconnect switch’ that can later disconnect the supply battery from your on-board network with a single movement. In the event of a short circuit, you can react very quickly.
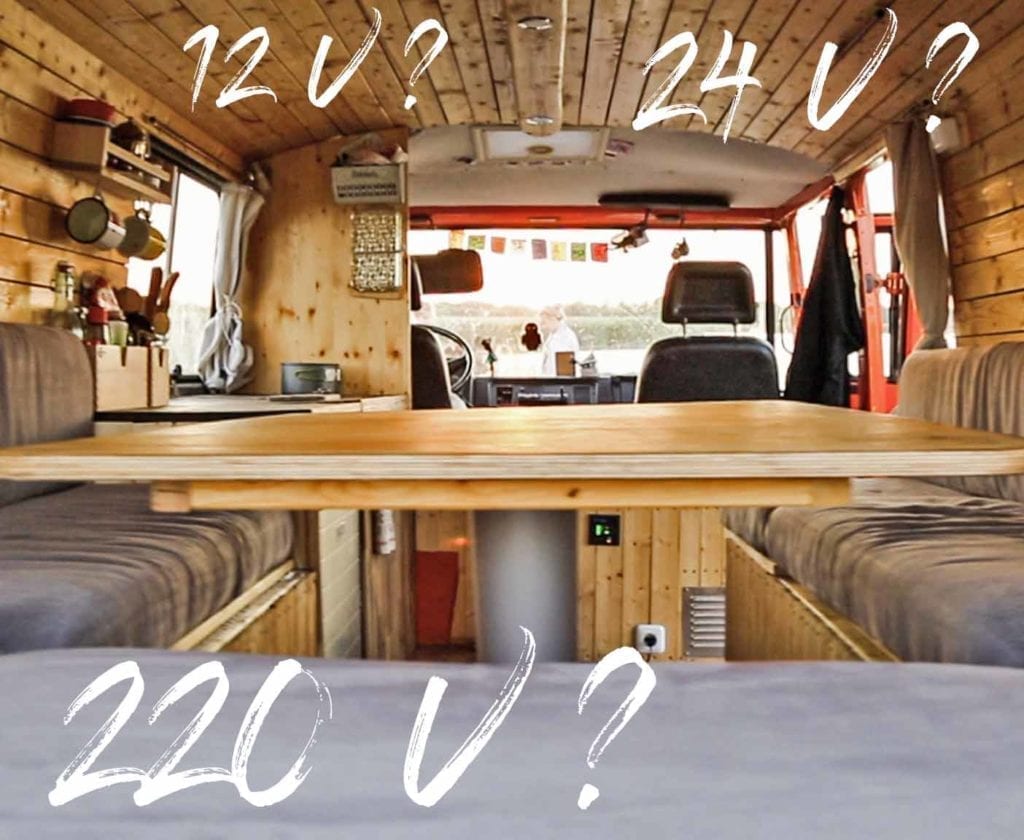
12 V, 24 V or 230 V – what do you need for motorhome electrics?
Since actually all electrical devices that you install in a motorhome have been adapted to the typical voltages of vehicles, it makes sense to only work with 12 V or 24 V in your van.
You can also make the choice here very easily by looking at the voltage with which your base vehicle works (normally <3.5 t plus 12 V> 3.5 t plus 24 V) and also using this for your expansion.
Of course, in most cases 230 V is very pleasant for a few devices that you do not want to do without (e.g. the laptop charger) and there are also corresponding voltage converters for your camper.
But there are a few things to consider, such as the cabling from your utility batteries to the voltage converter.
If you intend to install a voltage converter, I have summarized everything here and I recommend that you read this through more closely.
Which cables do you use in your motorhome
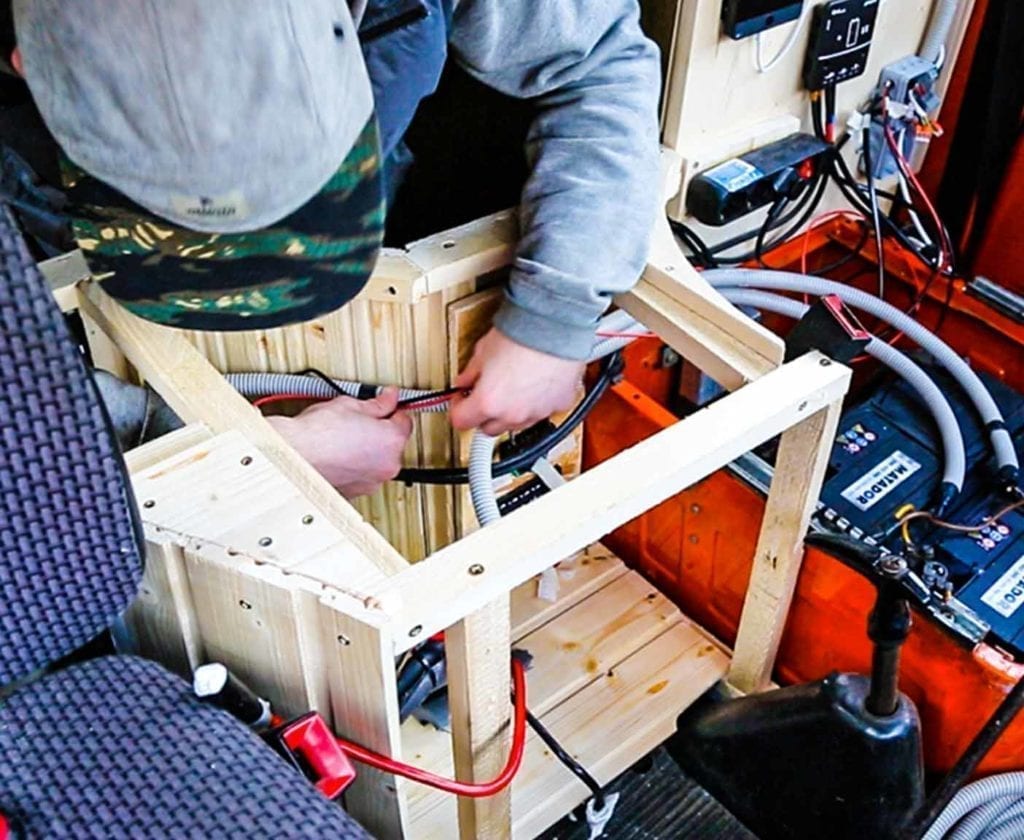
Your cables should always be vibration-proof and routed to the consumer via the shortest route. It would be best to route each cable in a conduit. However, since this is not always possible, you can also try to lay cables that go in the same direction together in a cable duct.
Tip: Pay attention: 12 V / 24 V and 230 V cables must be laid separately.
If you cannot use cable conduits, fasten the cables at regular intervals so that they are insensitive to vibrations.
You should also make sure that no screws protrude along the cables or that the cables are laid over sharp edges where they can chafe.
The cable thickness also plays an important role. Since you send a different current, i.e. a different current strength, to the respective consumer through each cable, you also have to pay attention to the correct cable diameter.
If a cable is too thin, it can cause a cable fire, which can have devastating consequences.
We have already summarized the topic of cable cross-sections in an extra ARTICLE {english version coming soon} for you and also provide you with a cross-section calculator.
The most important questions are answered there.
Correct fuses protect the electrical system in your motorhome
It is necessary that you secure all your electrical installations with appropriate fuses and a fuse box. If a short circuit does occur, you won’t burn the cable, just a fuse.
In case of doubt, you will secure your own life with it – and it should be worth it to you.
Fusing the 12 V or 24 V devices is super easy. Here I give you a specific example so that you can design fuses yourself. Fuses are always specified in amps, i.e. the current strength used.
My refrigerator consumes 60 W at 12 V. To determine the current strength here, we use the following formula:
elec. Work (W) / voltage (V) = current (A)
60 W / 12 V = 5 A
Most electrical devices now have so-called current peaks when they are switched on. Exactly this means that your coffee machine draws a few watts more than is stated on the machine for a fraction of a second when it is switched on.
Here you can dimension the fuse a little larger without any problems.
The same applies to my refrigerator – if I built a 5 A fuse, it would blow out every time the refrigerator starts up. That would be annoying and would cost in the long run.
A 6 or 7 A fuse is the right choice here and ensures the right protection.
It makes sense not to secure everything with your own backup. So you can merge certain consumers, such as the radio and the speakers.
Do 230 V have to be fused too?
Clearly: YES.
In DIN VDE 0100-721, protection by a FI switch with a rated differential current of 30 mA is prescribed for 230 V alternating voltage.
Since the required FI only has to be installed in more recent years of construction, subsequent installation is not mandatory, but from my point of view it makes sense. So I can not only recommend the installation of a FI, but it is also a must because your conversion corresponds to the current date.
The 16 A with 30 mA fault current cut-off available in the hardware store would definitely be correct here. But since you don’t carry large loads with you, I am of the opinion that a 10 A FI with 30 mA fault current shutdown is absolutely sufficient.
In turn, the regulation is clear for external networks, for example on camping sites. A FI switch is necessary here and you should also make sure that it is actually available.
What is FI/RCD?
The international name of the FI or residual current circuit breaker is RCD, which is written out as “Residual Current Protective Device” and thus comes very close to the German name.
The task of such a protective device is to switch off an electrical consumer within 0.2 s or 0.4 s if it shows a defect and a contact voltage that is dangerous for humans occurs. This protects the users, in your case you yourself, from dangerous electric shocks.
An experience on the subject of motorhome electric
If you are unsure, then it makes sense to ask an electricity expert. No matter how much you read into the topic, you always look at your own project from a special perspective.
If you have a specialist who, firstly, is more familiar with the topic and, secondly, looks at the project from a certain distance, he can suggest good solutions and points out that you would never think of.
Discuss your project with other people, ideally a professional, or invest a few euros well and let an electrician look over your project.
Important information about motorhome electrics
All electrical work, including in the mobile home, should comply with applicable regulations. We ourselves are not specialists in this field, but we do our best to present everything correctly.
Electrics in the motorhome are a tricky place, so we are not responsible for all advice and tips on this topic.
I’ve always been a big fan of trying things out, but a burning camper is not a good thing. Therefore, always work with the necessary respect on the electrics in the motorhome and like to let knowledgeable eyes subdivide your own work.
/////////////////
Anyone who wants to build a new camper can find out more in this large guide with more than 220 pages for the camper expansion, the largest chapter deals with the topic of electrics in motorhomes. Click here. {english version coming soon}


